What are SQL Server Database Backups?
The SQL Server backup provides an essential safeguard for protecting critical data stored in your SQL Server databases. To minimize the risk of catastrophic data loss, you need to back up your databases to preserve modifications to your data on a regular basis. A well-planned backup and restore strategy helps protect databases against data loss caused by a variety of failures.
What are Azure SQL Server Database Backups?
Azure SQL Server automatically creates the database backups that are kept between 7 and 35 days, and uses Azure read-access geo-redundant storage (RA-GRS) to ensure that they are preserved even if the data centre is unavailable. These backups are created automatically.
Azure SQL Server automatically creates full backups every week, differential backups every 12 hours, and transaction log backups every 5-10 minutes. The backups are stored in RA-GRS storage blobs that are replicated to a paired data center for protection against a data center outage. When you restore a database, the service figures out which full, differential, and transaction log backups need to be restored.
How to change Backup retention in Azure Portal?
Open Azure portal, then navigate the Azure SQL Server and select the SQL Server for which you are changing the Backup retention policy.
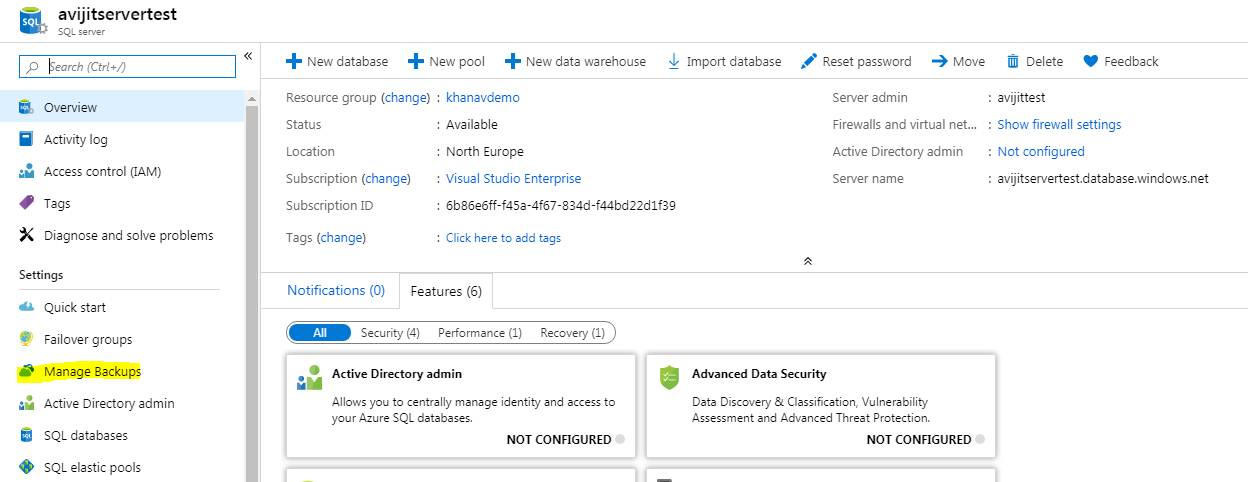
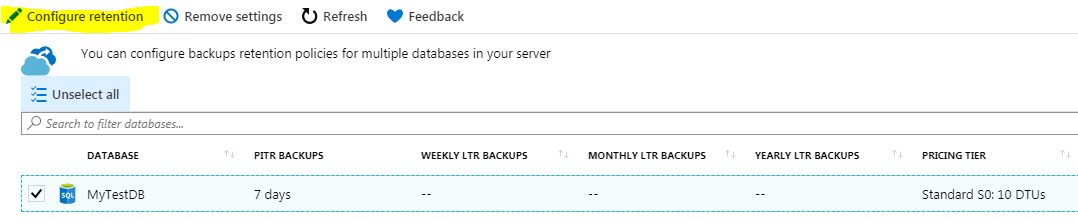
Then go to Manage Backups. Select the database for which you want the Backup retention policy to change and then click the Configure retention.
Then select the number of days you want the Backups to be retained. For example : When we select 7 days. Then the backups of the database will be kept for only 7 Days and we could do a point in time recovery if needed any time within the 7 days.
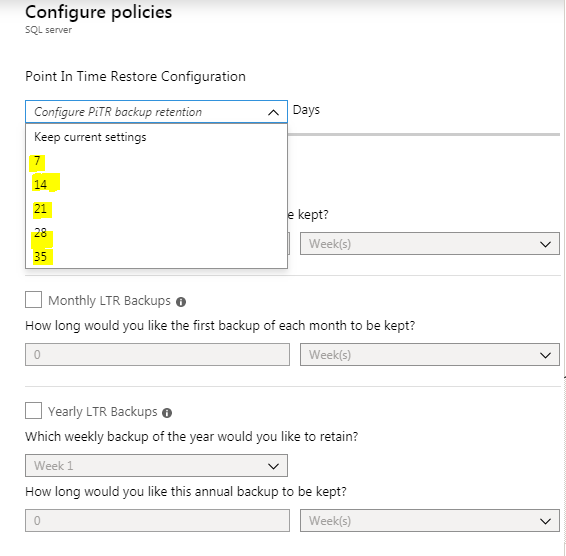
When we need to keep the backup of the database for longer period than the default retention period we can use Monthly LTR or Yearly LTR Backups.. This may be due to the regulatory, compliance of the applications. Long-term retention (LTR) backup is a feature in Azure to store the full backups up to 10 years. Long-term retention (LTR) backups can be configured on a single Azure SQL database or elastic pool.
Select Monthly LTR backups to copy one backup from the first week of every month to long-term storage.
Select Yearly LTR backup and specify the week number to copy one full backup of Azure SQL database in the specified week of the year to the long-term storage.
These backups are stored in the long-term storage based on the retention period you specified while creating the retention policy.
How to restore a database in the Azure Portal?
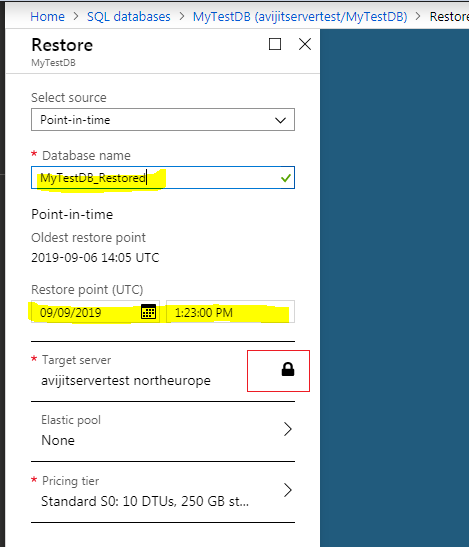
To restore a database in the same SQL Server we have to navigate to the database and open the Restore Tab.
Example :
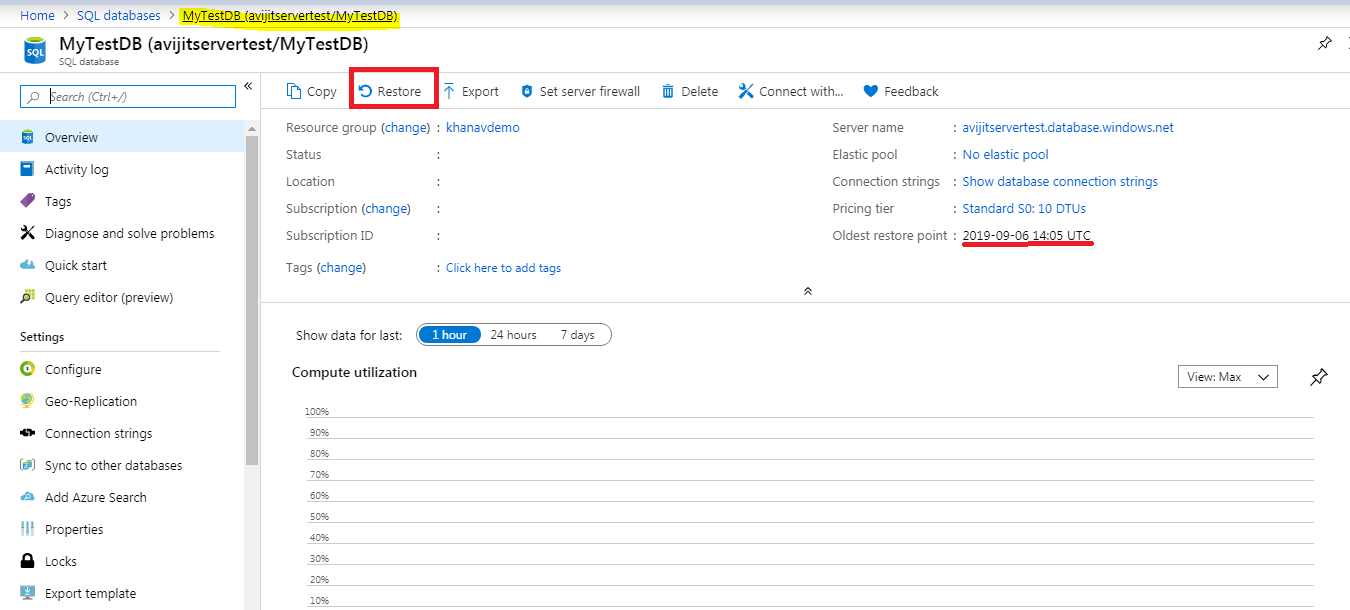
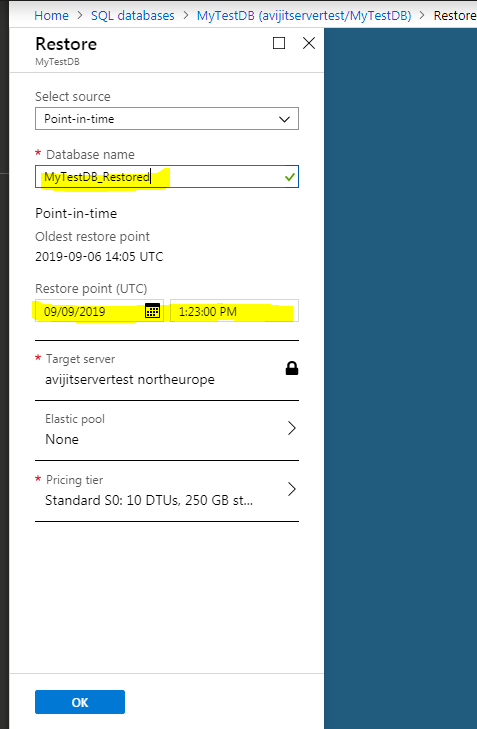
In the Option, we can choose the Date-Time for the time of restore .We can also provide a new Database Name for the new database that will be restored. At present, we cannot overwrite an existing database with the Restoration. We have to restore the Backup with a new Database Name (Example: MyTestDB_Restored) . We can later Drop the Original database and rename the Restored database to the Original DB name. We can also change the Pricing tier of the database if required. We can restore a database even if the database is deleted as long as the backup retention is available. But if the SQL Server in the Azure Portal is deleted than the backups are not available and the restore for none of the database will be available. Special care should be taken before deleting any SQL Server from Azure Portal.
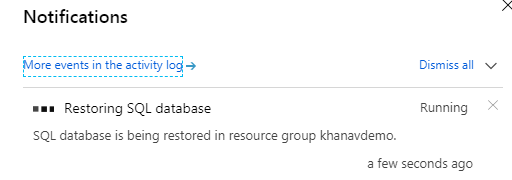
We can check the Notification to verify that the Restoration is in Progress.
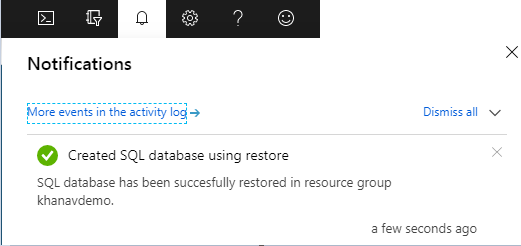
 You will get notified when the restoration is completed.
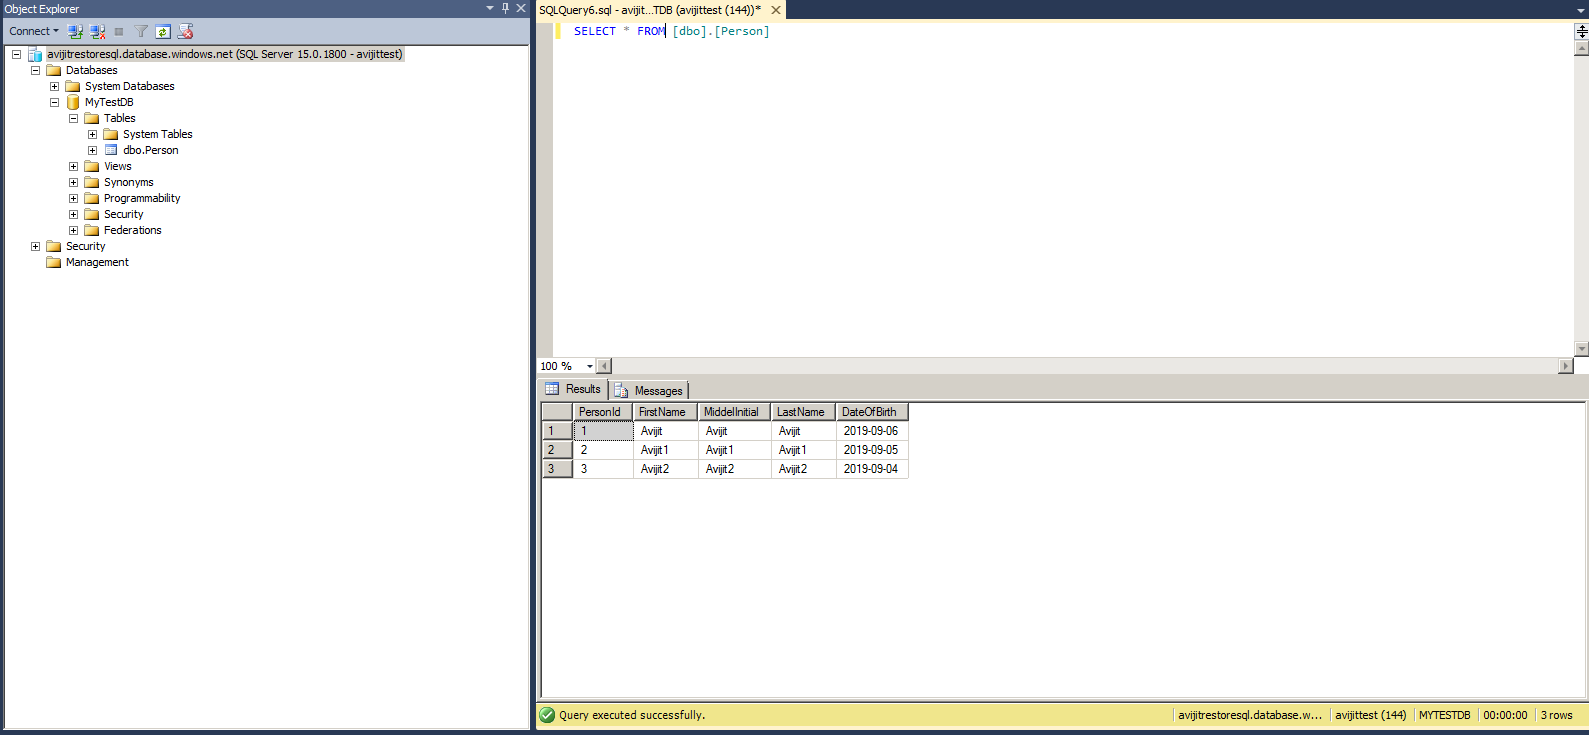
Let’s login to the SQL Server and verify that the database was actually restored.
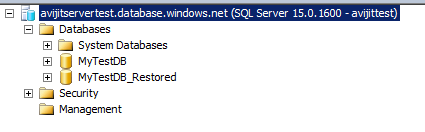
We could see that the original Database MyTestDB and
MyTestDB_Restored both are available in the SQL Server.
Migrating Database from one SQL Server Instance to another SQL Server
Can we use Backup and Restore to migrate\Move database from one SQL Server instance to another SQL Server instance.
Yes, we surely can use database Backup and Restore to move the database from one SQL Server Instance to a New SQL Server instance.
There are three Option available
- Export and Import and
- Deploy Database to Azure
- Backup and Restore.
1. Export and Import:
We will now explore the option of Exporting the Database from SQL Server and importing the same database in a new SQL Server.
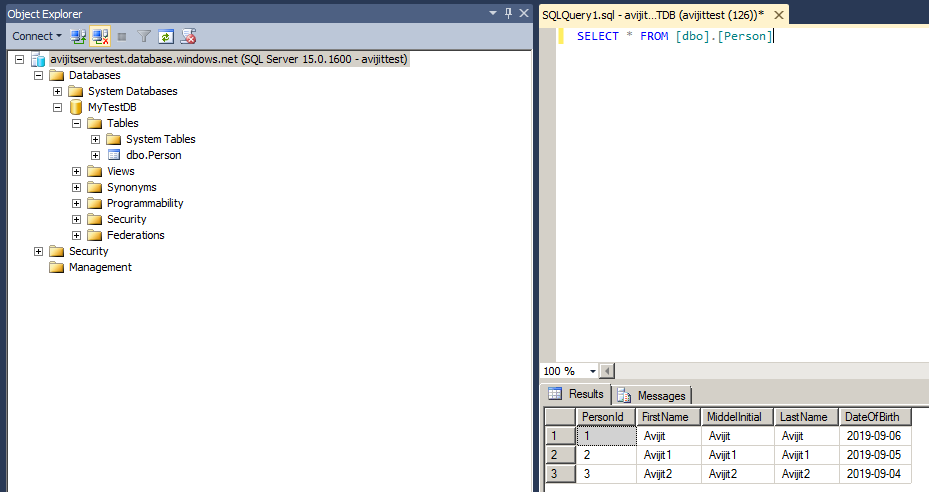
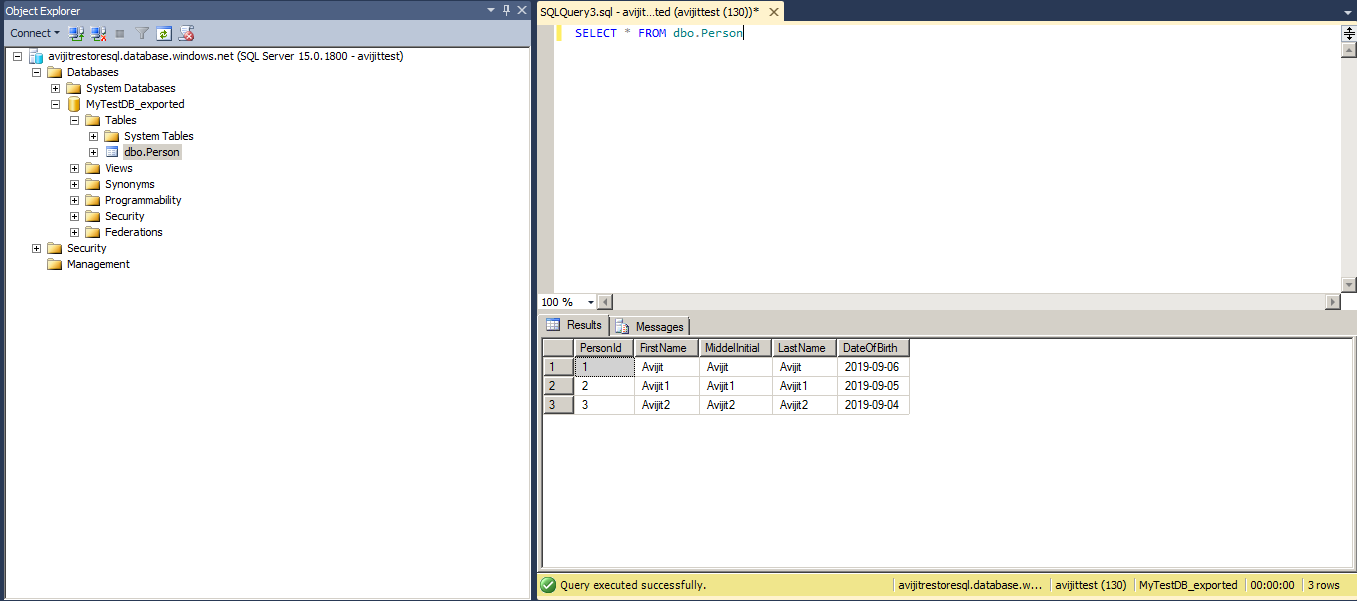
We have a SQL Server Instance (INST 1): avijitservertest.database.windows.net . In the SQL Server, we have a database MyTestDB with one Table dbo.Persons. The table dbo.Persons has three Rows as shown in the screen shot.
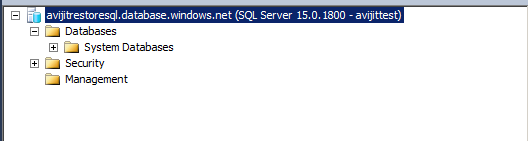
The other SQL Server instance (INST 2): avijitrestoresql.database.windows.net do not have a Database present.
We will move the Database MyTestDB from INST1 to INST2 .
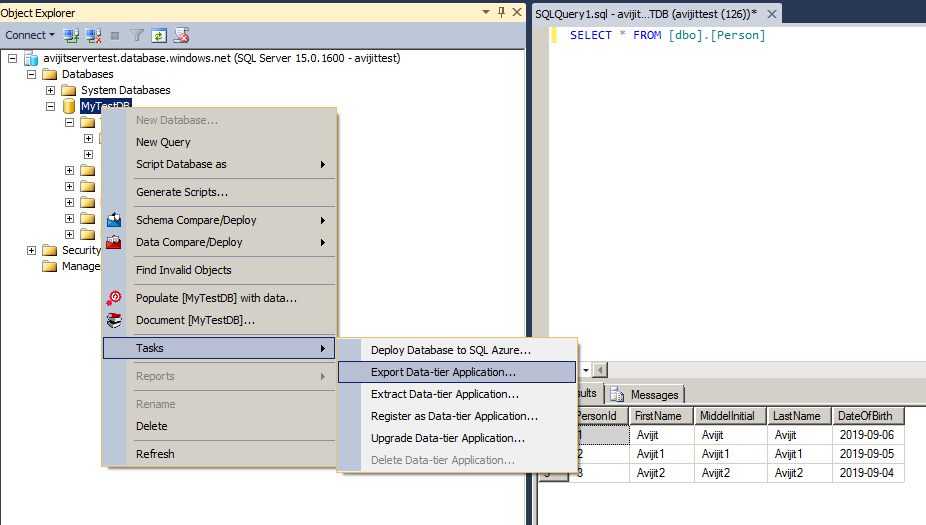
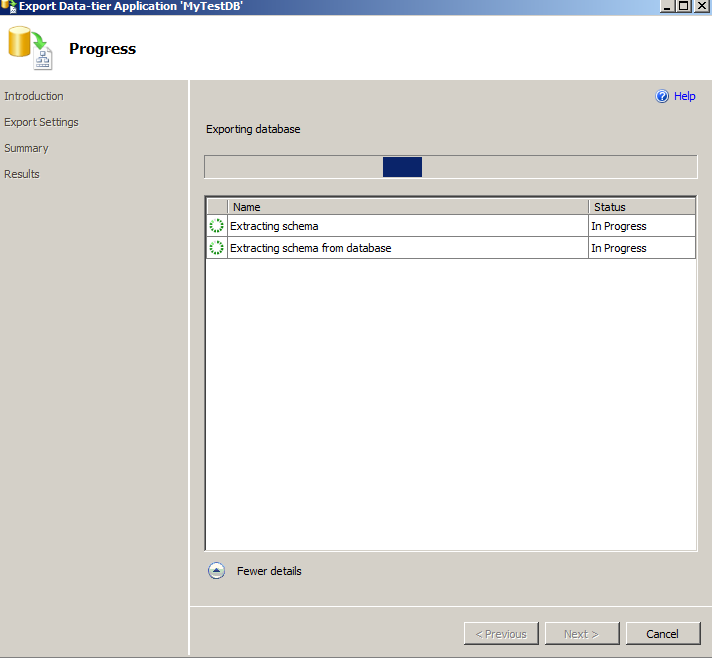
We start by connection to INST1 and right clicking the database and select Export Data-tier Application from the Task.
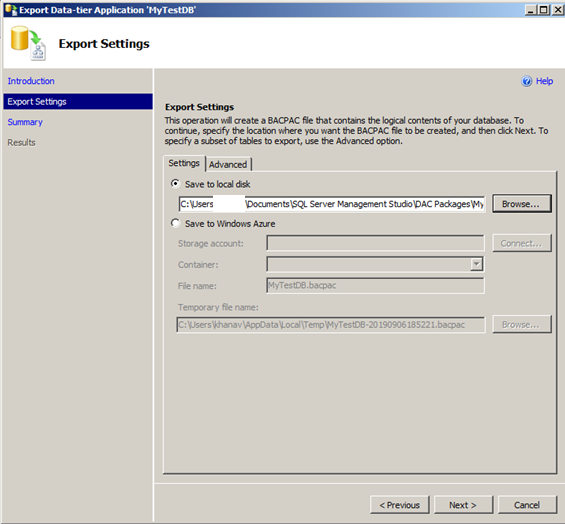
We can save the BACPAC file either on the Local Drive or in the Azure Storage. I have exported the BACKPAC file in the Local Directory.
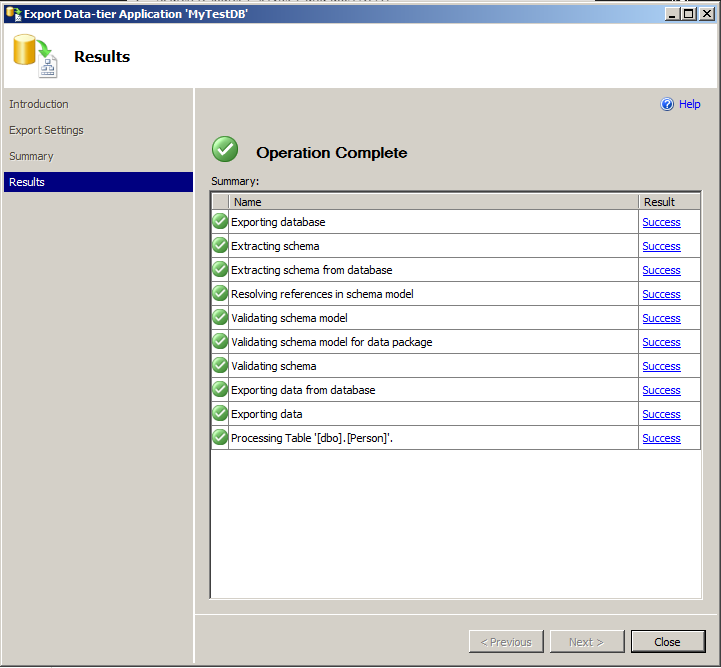
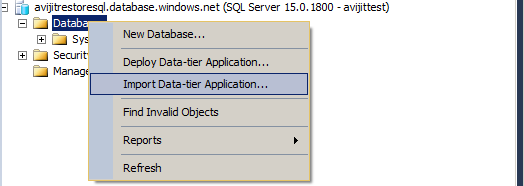
Once the Export of the BACPAC file is completed, we connect to the NIST2

Right click on the Databases and select the Import Data-tier Application
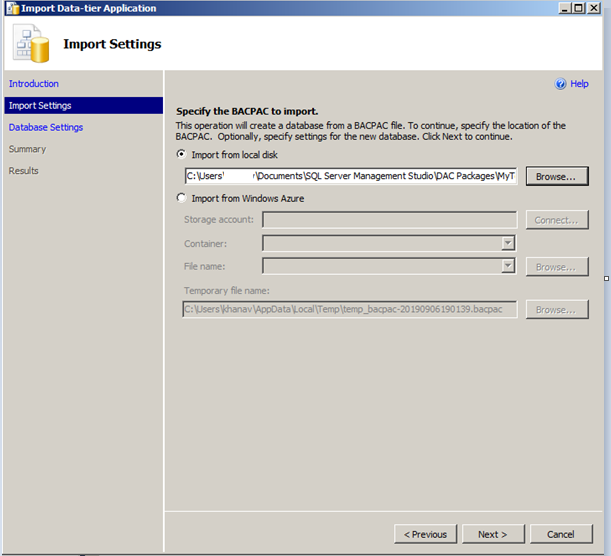
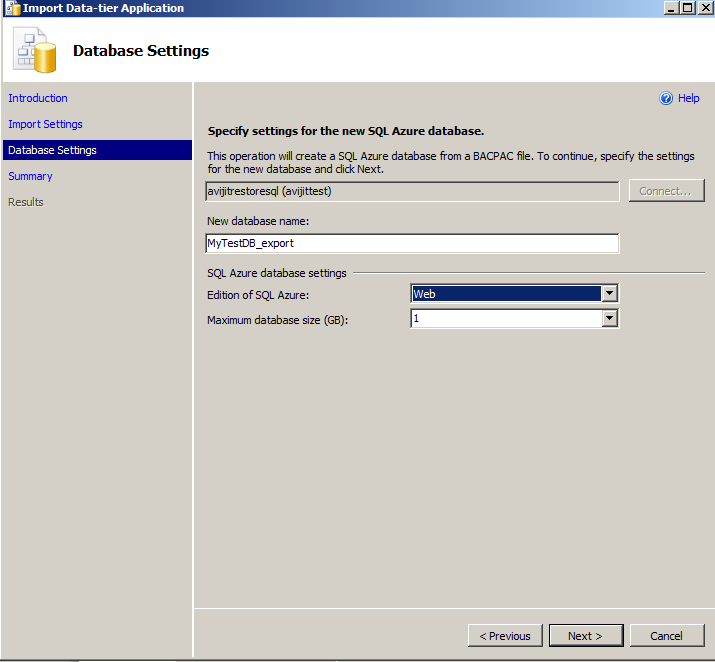
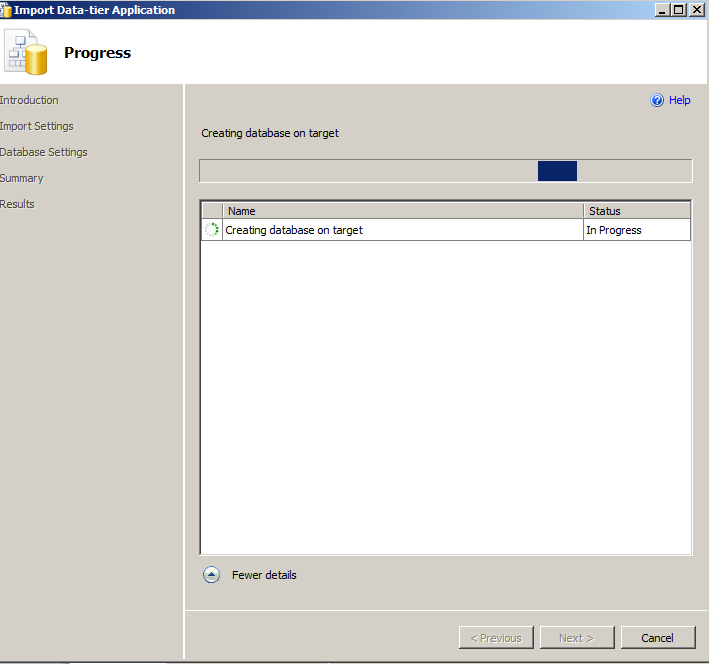
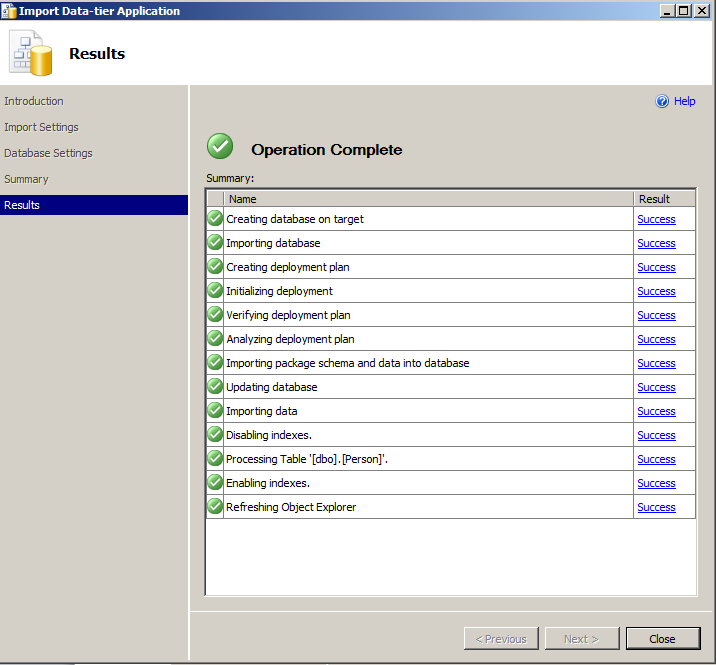
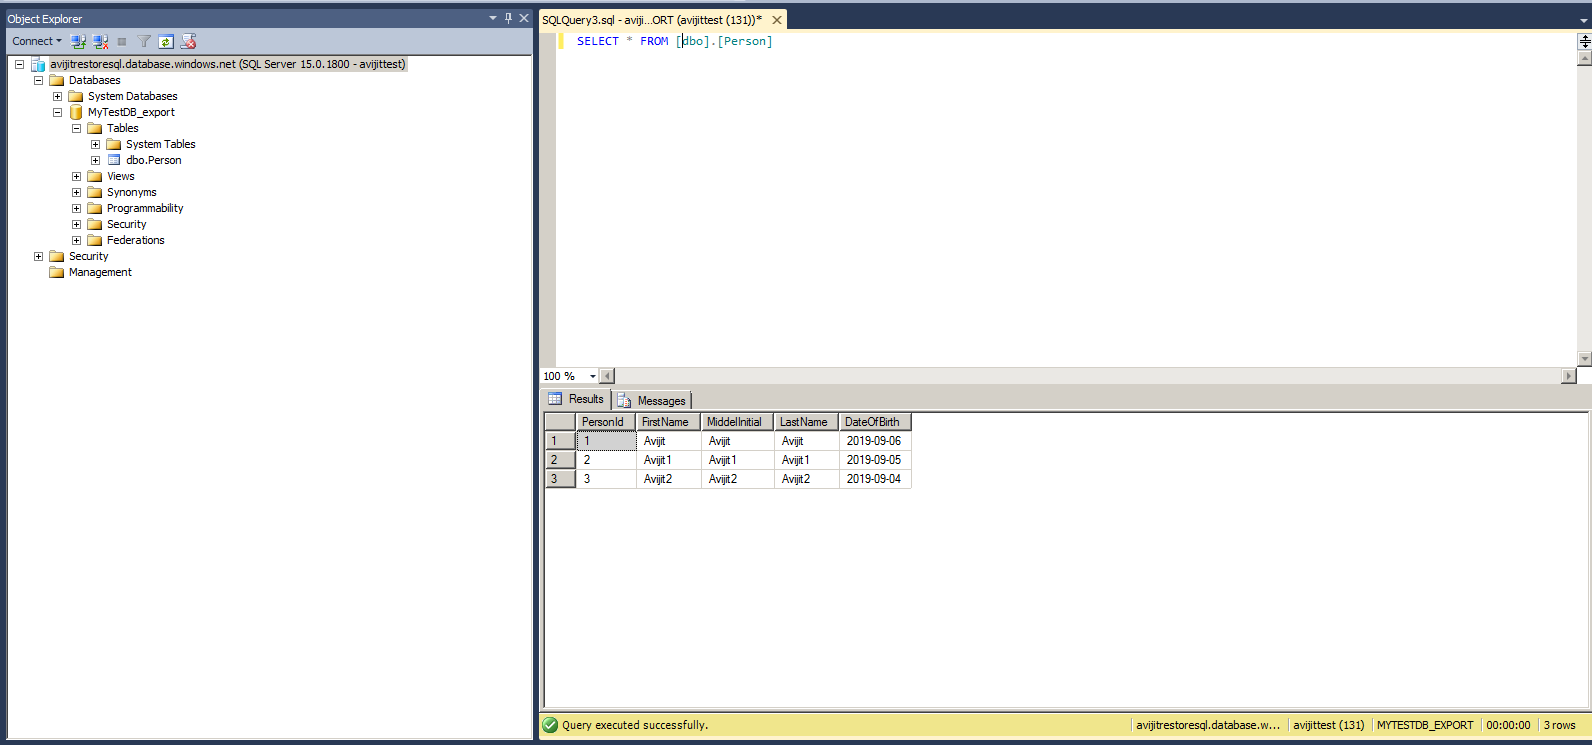
Once the Import is completed we can verify that the Database was available in the INST2
2. Deploy Database to Azure SQL Server
The second option we will explore is to Deploy Database directly to Azure SQL Server We begin by verifying that the INST2 do not have any database.

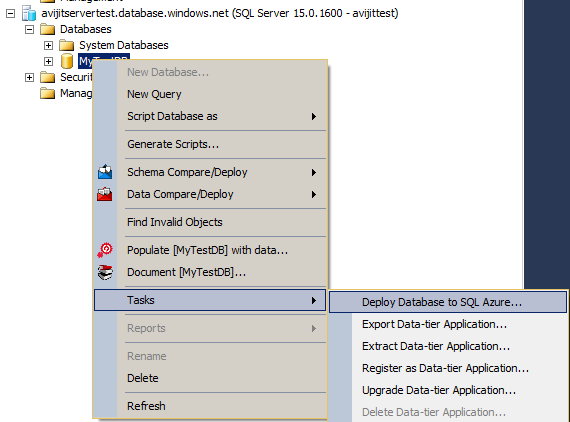
We connect to INST1 and right click the database we want to Export and go to Task>> Deploy Database to Azure SQL Server
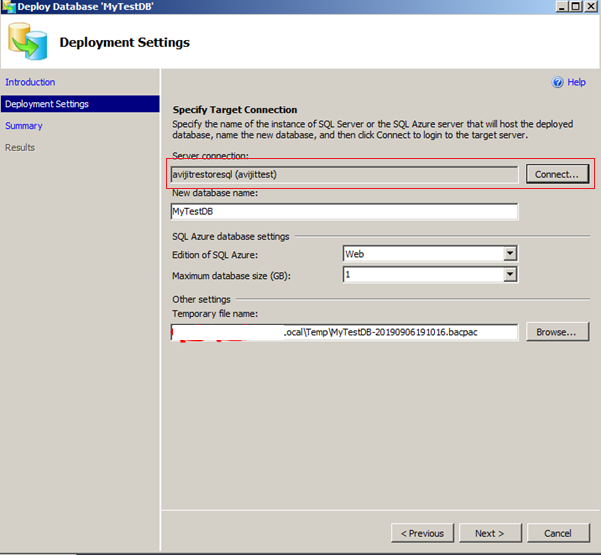
We have to connect to the Destination SQL Server Instance in this case it is INST2.
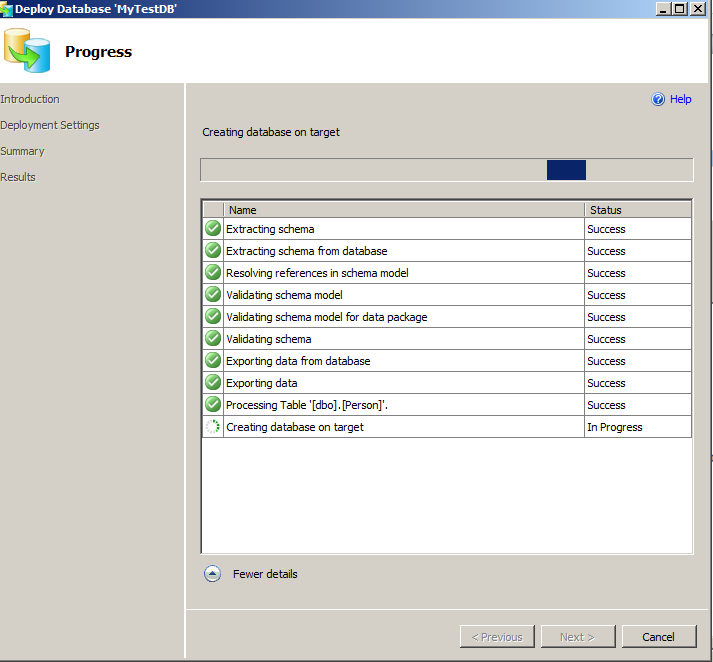
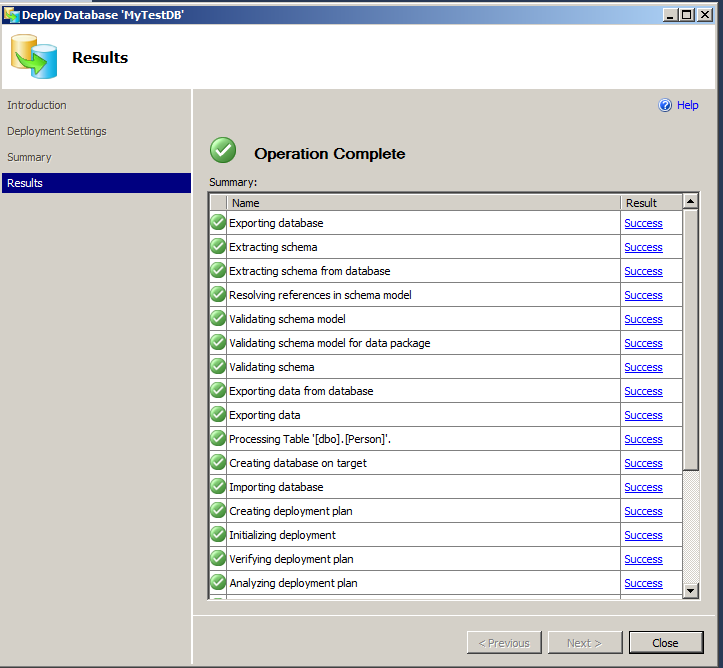
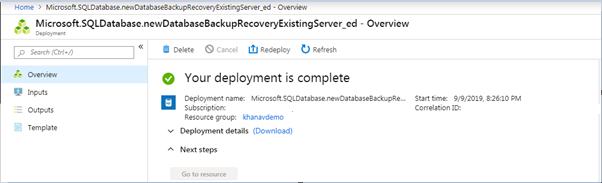
Once the Deployment is completed, we can connect the INST2 and Verify that the Database MyTestDB is available.
3. Backup and Restore option.
The third option is to restore the database backup from INST1 into INST2.
If we go to the restore option in the database in INST1 ,

We could see that the Target Server is locked out and cannot be changed.
So for restoring a backup from one SQL Server instance into another SQL server Instance we have use Geo-restore using the Azure portal.
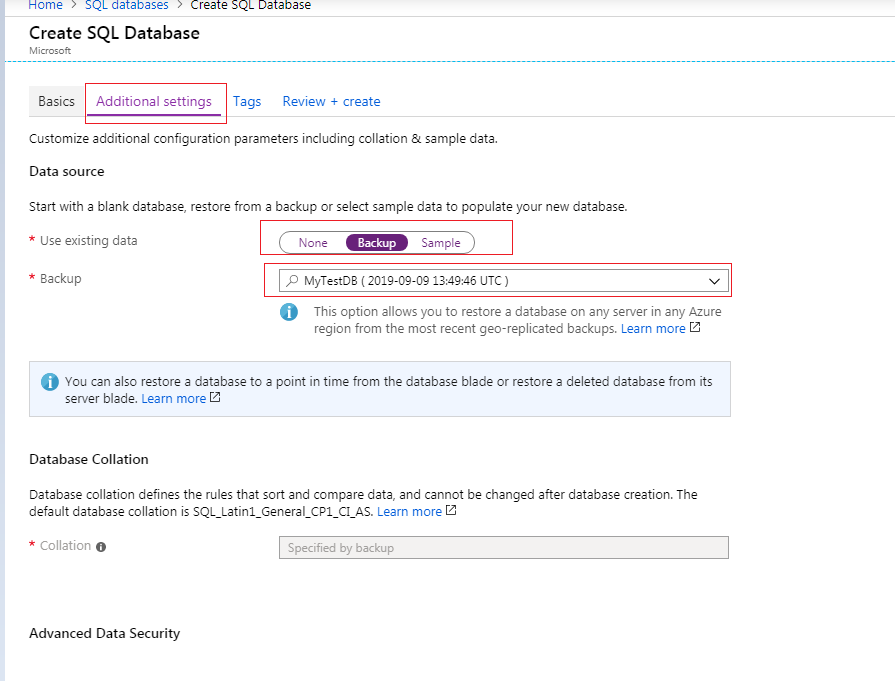
To geo-restore a database using the Azure portal, open the SQL Databases page and then click Add. Then go to Additional Settings and select the Backup you want to restore based on the available backups from SQL Server Instances you have access.
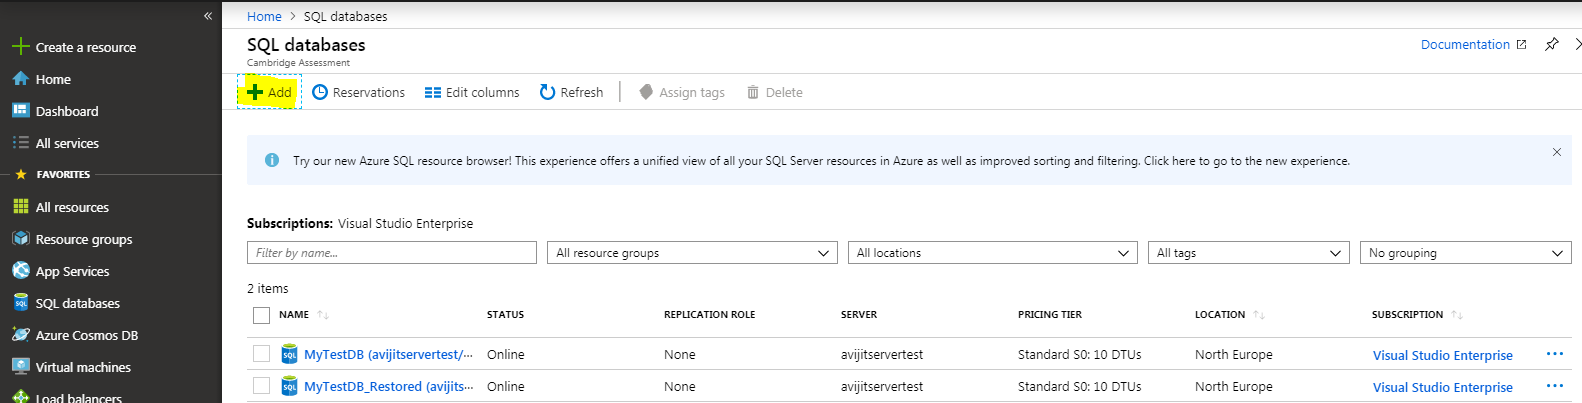
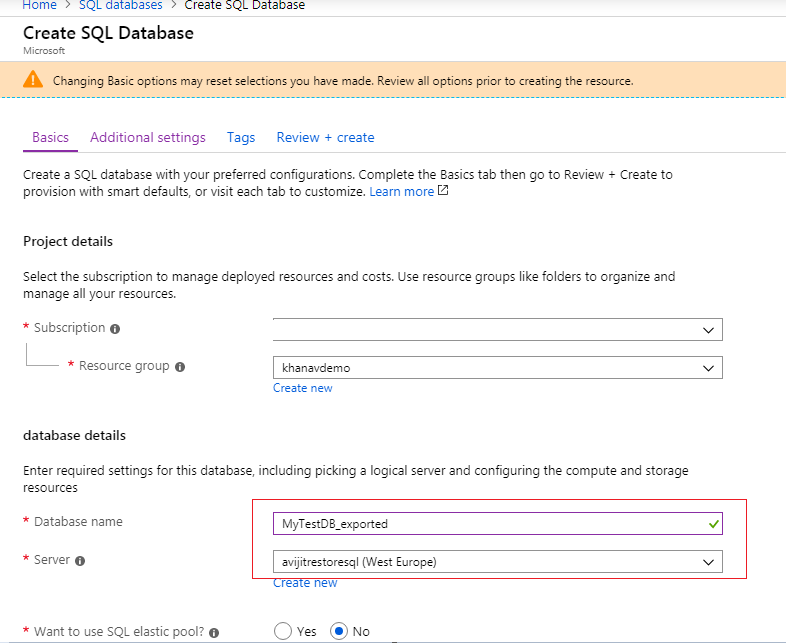
Then from the Basic tab Destination Server and Destination Database name can be edited. Then Review and create.

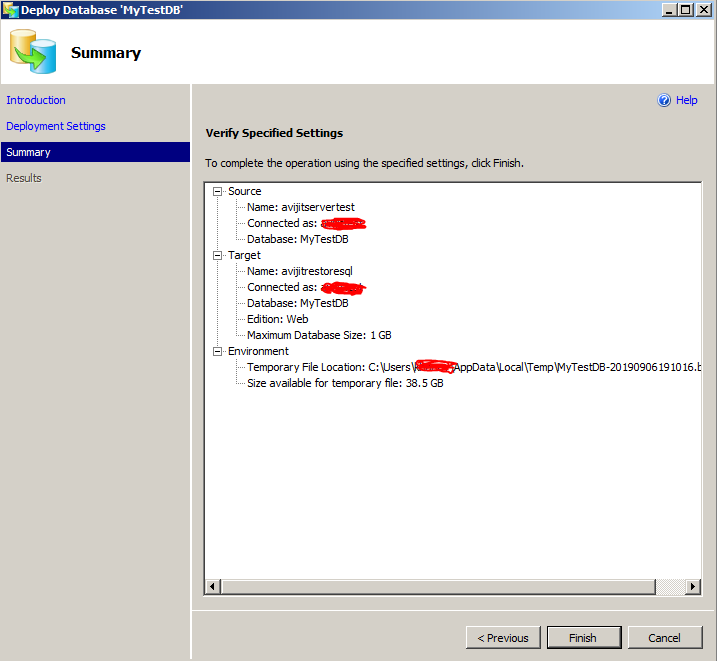
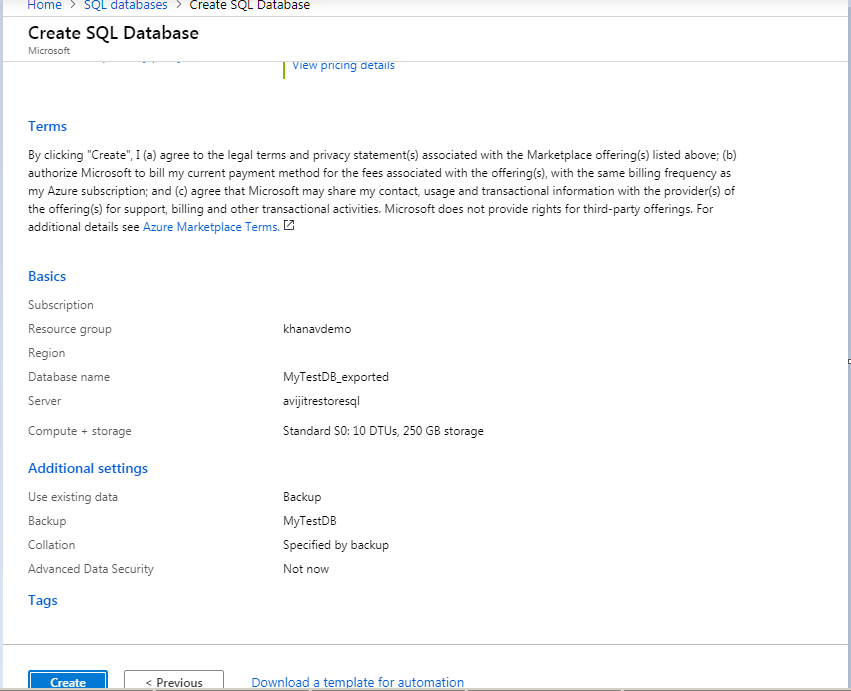
Verify the details before proceeding.
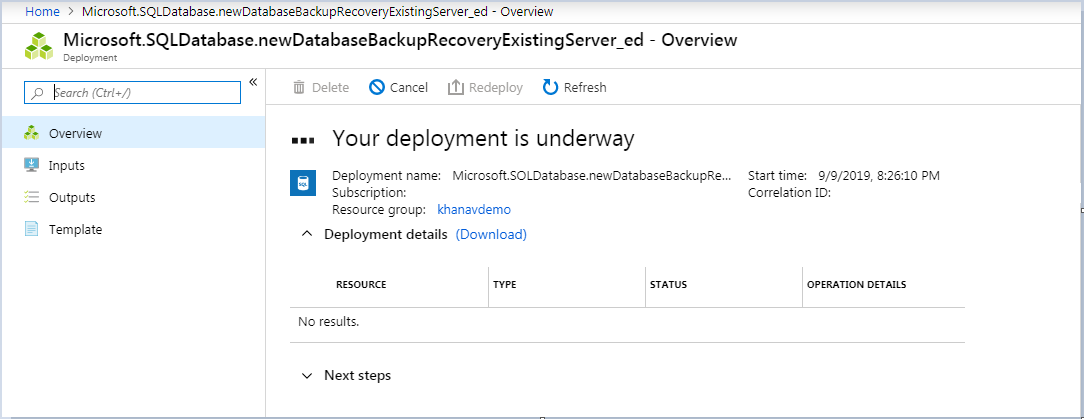
The progress can be viewed in the Azure Portal or from the notification tab.
We will get the notification when the restoration is completed.
We can connect to the INST2 and verify that the database was restored properly.
Note: For restoration from one SQL Server Instance into another SQL Server instance, point in time option is not available. Also the login information needs to be recreated in the restored server instance.
Currently the maximum retention for Azure SQL Server Database can be set to 35 days as we have discussed earlier. However, we can set the backup retention to a maximum of 10 years using Azure Backup Recovery Services vault. We will be discussing the option in upcoming article.
Leave a Reply